Project Date: June 24, 2007
**Please
Note: I was inspired to do this tutorial by a friend of mines, Joyce
Jensen, who was originally inspired by attending a class held at a Ben
Franklin's store in Hawaii. I simply re-wrote this tutorial in my own
words and took my own photos. Some of the steps have been altered to
create the project I had in mind. Also, this tutorial was written with
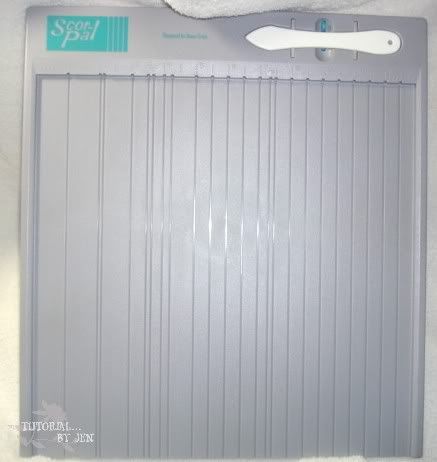
the intent to utilize the Scor-Pal tool.
Supplies I used:
- Scor-Pal
- DS Paper (fr 3 Bugs in a Rug) cut down to 11-3/4" square;
- 12x12 coordinating cardstock;
- 4-1/4" x 5-1/4" coordinating cardstock;
- Slot Punch;
- Paper Cutter;
- Mono Adhesive Permanent Tape;
- Ribbon;
- Embellishments to decorate....
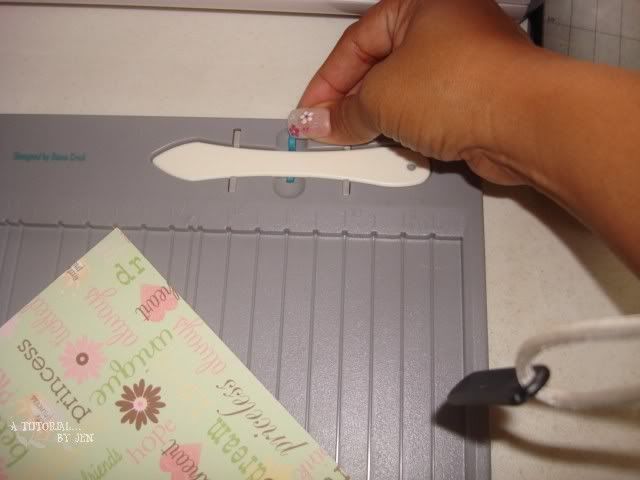
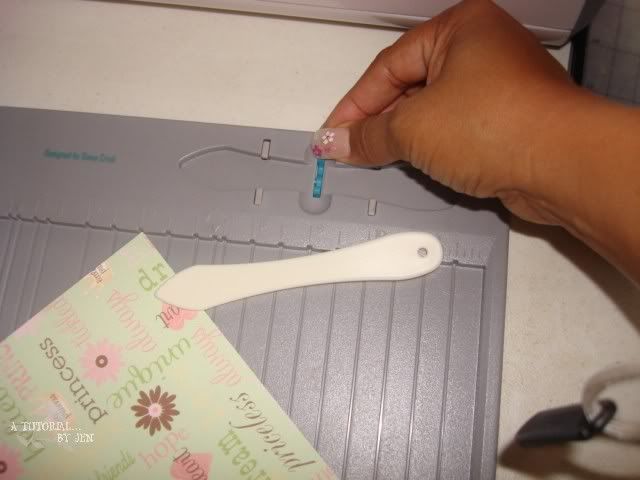
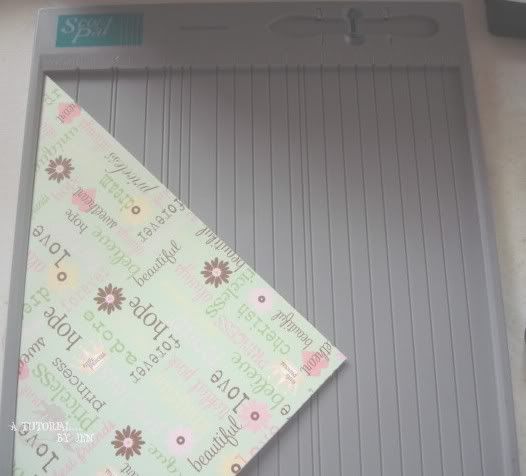
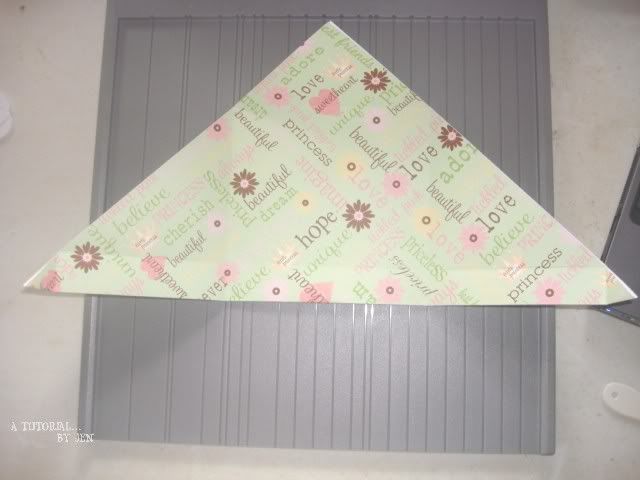
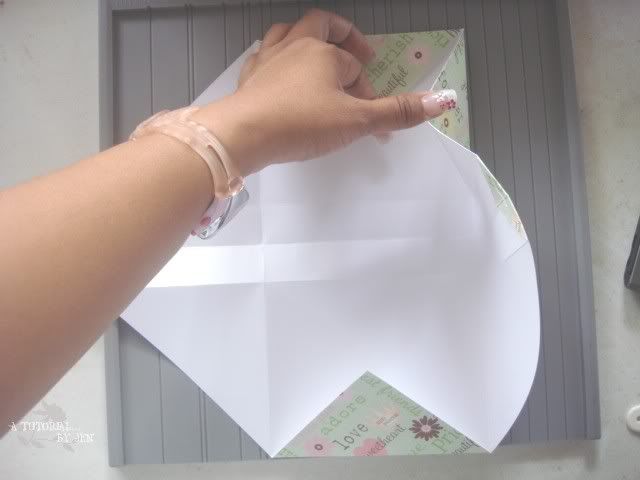
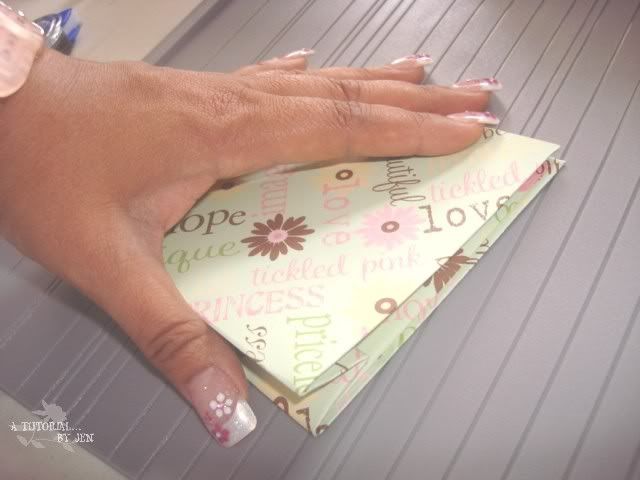
Step 1: Take your DS paper, and emboss a line right down the middle � diagonally. Because
the Scor-Pal does not fit the entire DS paper in a diamond form � you
will need to flip the paper, and score the other half of the middle,
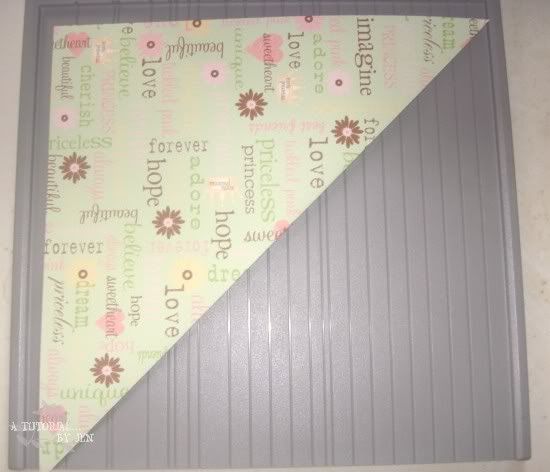
then fold on the crease - you will have a large triangle as shown
above.
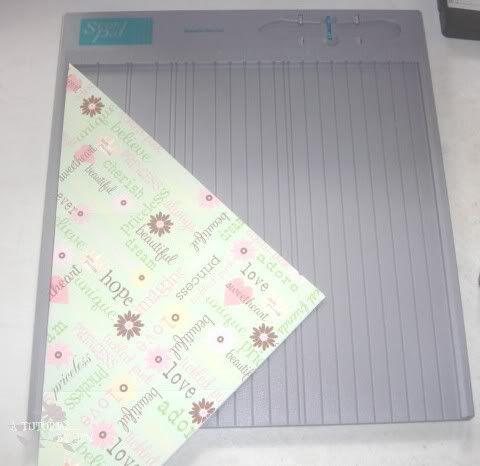
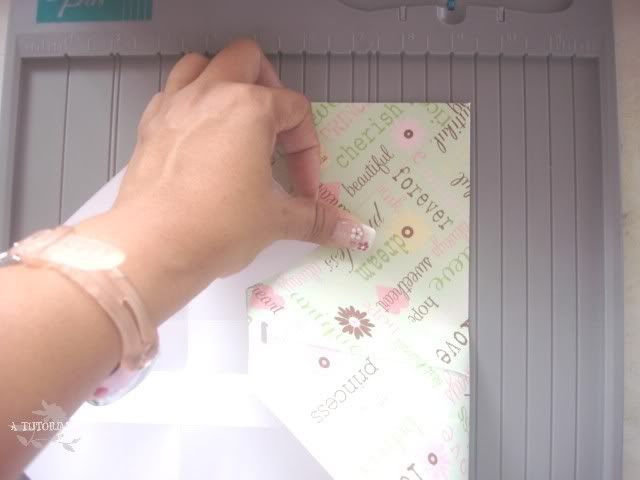
Step 2: Now,
turn it so the diagonal or middle fold is now against the left part of
the Scor-pal - and the point of the ds paper is pointing to the right. Score
1� from the middle fold - the scor-pal already has measurement lines,
so you don't have to get a ruler or what I used to do was get my paper
cutter, and measure using that. Now, I just measure by looking at the
top of my scor-pal, and score where I want to. If you don't own a
scor-pal, simply score 1" from the middle fold.
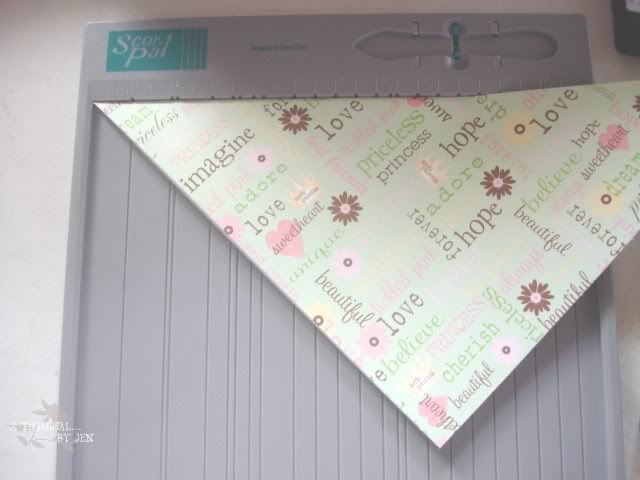
Step 3: After scoring at 1" from the middle fold - score at 5-1/2" from the middle fold (if you look closely, you'll see my score lines in the photo above).
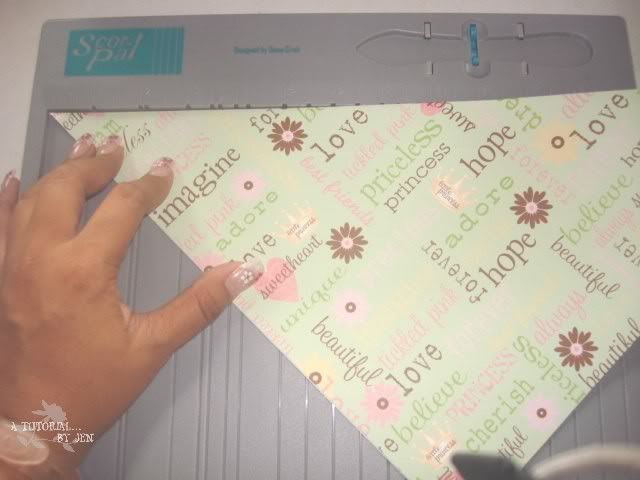
Step 4: Turn your ds paper so that the point is now facing downwards. Now score at 1" and 5-1/2" in from the left, and then flip your triangle over then score again from the left at 1" and 5-1/2". You should have a total of 6 scores on your DS paper by now.
Step 5: Fold all of your creases - because the scor-pal indentions are pretty deep, I didn't need to use a bone folder - it was already easy enough to fold.
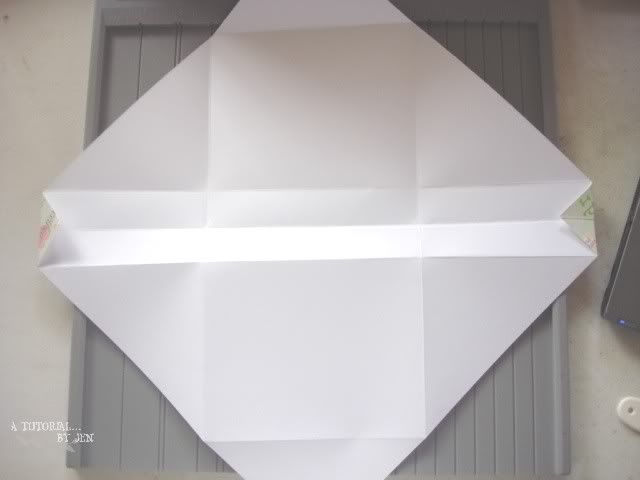
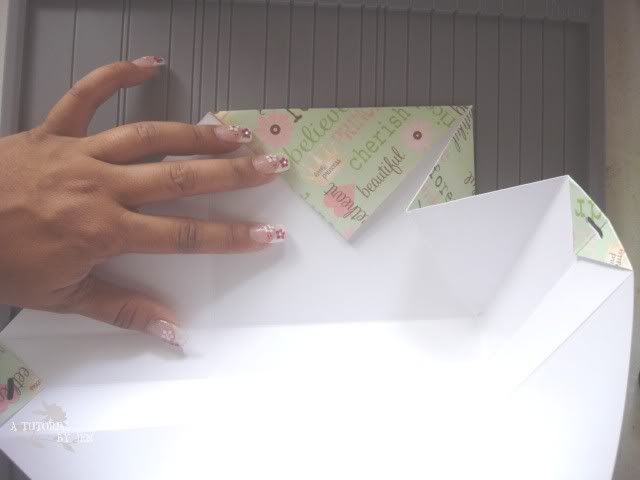
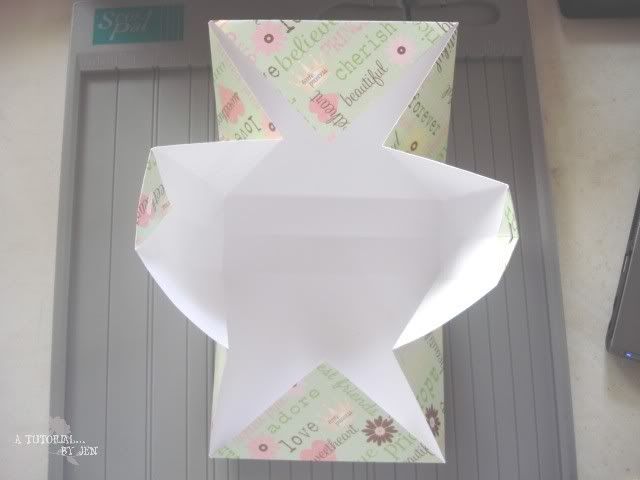
Step 6: Now open up your DS paper, and you should be able to see all of your scored lines. As you can see from the photo, I've already folded in the 2 points (which were scored at 1" each) � do the same here.
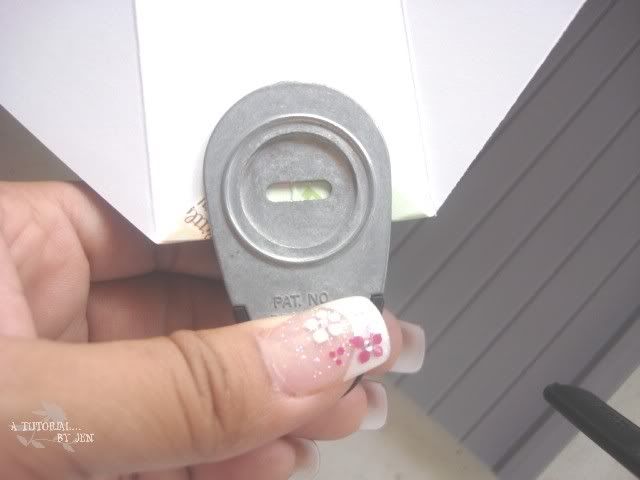
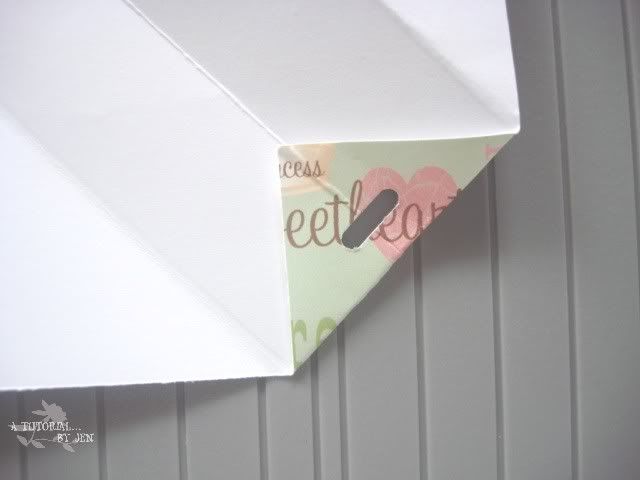
Step 7: Take your slot punch, and punch it right on that fold. This is for your ribbon which will be the handle for the purse. After it is punched, it'll look like the photo to the right.
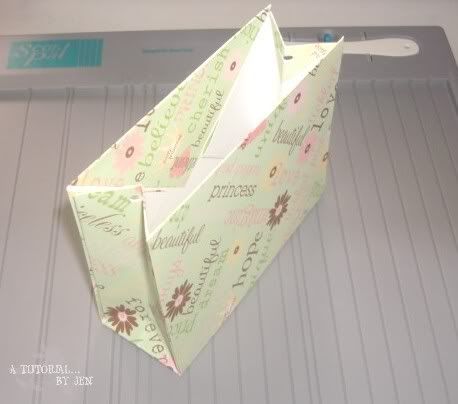
Step 8: Now, it's time to fold it into the purse. First, fold the top n' bottom triangles inwards.
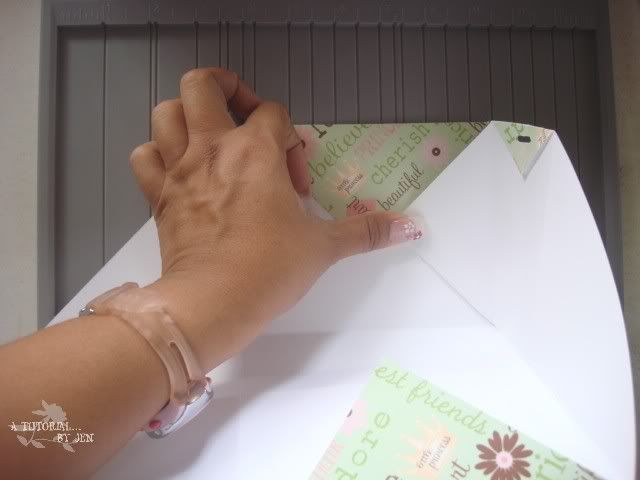
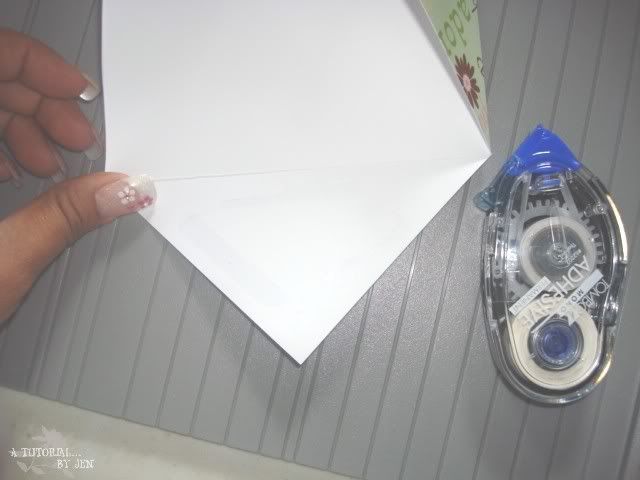
Step 9: Take that right upper diagonal (90 degree), and fold in to make another triangle on the inner part of the purse: - I took multi photos, so you can hopefully see it easily transforming....I hope it helps!!! Here is what your project will look like when you fold it correctly: You're going to have a 90 degree angle at the upper right corner of your purse. Do this to all 4 corners....
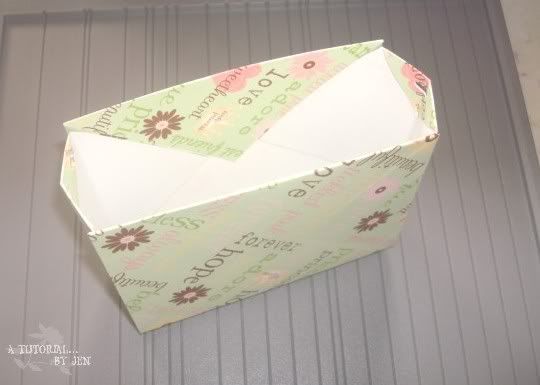
Step 10: After completing all 4 corners, your project should look like the photo above.
Step 11: Use your mono-adhesive permanent tape, and tape down all the big triangle folds... you will end up with an almost finished purse:
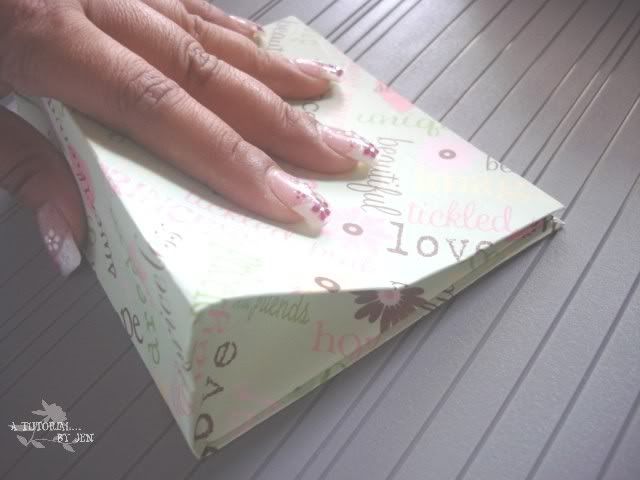
Step 12: Then "squish" the bag together like a milk carton top.
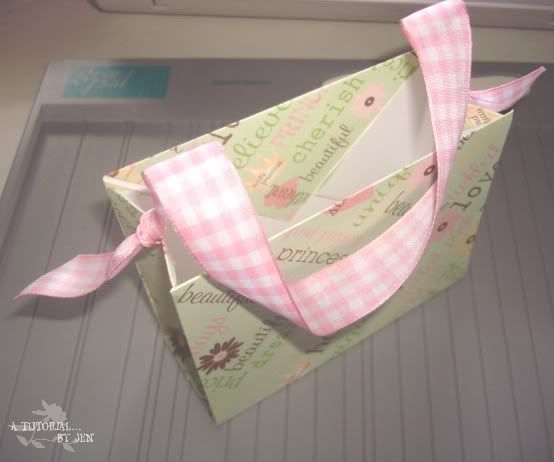
Step 13: Now open it up, and loop your ribbon through the slot holed punches. This is the completed purse.
Here is the tutorial to make the accordion album that goes into this cute purse!
Step 1: Take a 12� x 12� cardstock and scored it at 5" and 10" (you should have a leftover 2" flap on the right � do NOT cut this off!!!).

Step 2: Turn cardstock 90 degrees, and score at 4" and 8�.
Step 3: Use your paper cutter to cut at where you scored 4� and 8� - you will have 3 panels to create your accordion album.
Step 4: Connect all three panels by applying adhesive to the 2" leftover flaps, and connecting them to each other (I cut one extra flap)
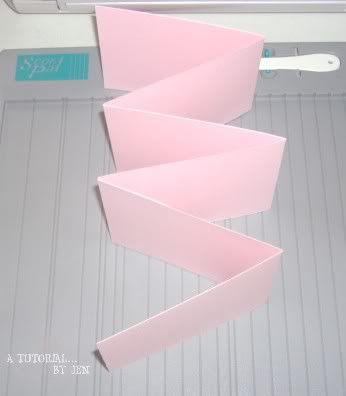
Step 5: Fold accordion style (back n� forth � left then right)
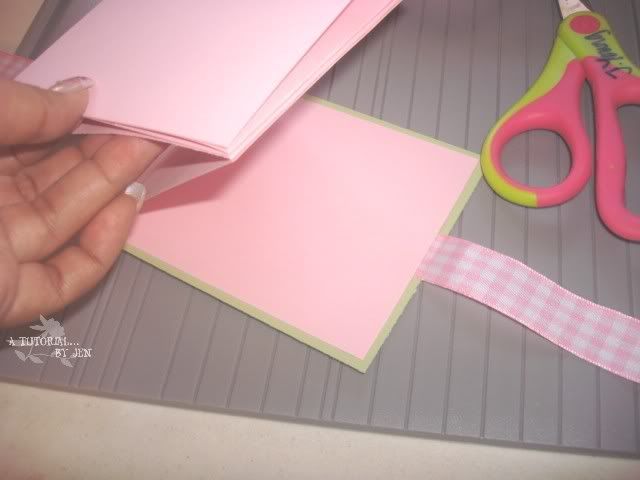
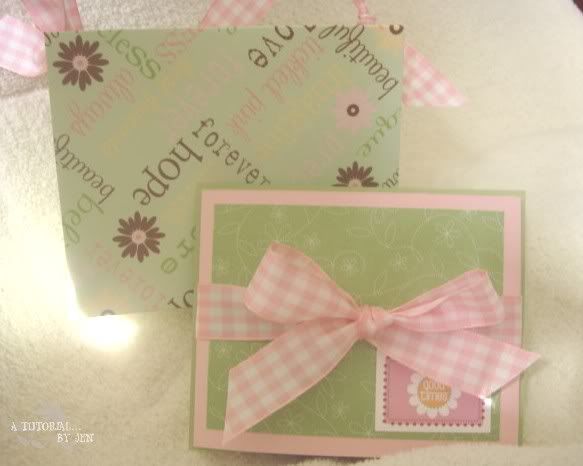
Step 6: With your 4-1/4" x 5-1/4" coordinating cardstock (for the base), apply the coordinating ribbon right unto the base cardstock (cut the ribbon long enough to wrap around your album, and also enough to tie).
Step 7: I then adhered my accordion album (the last page) to the base cardstock sandwiching the ribbon.
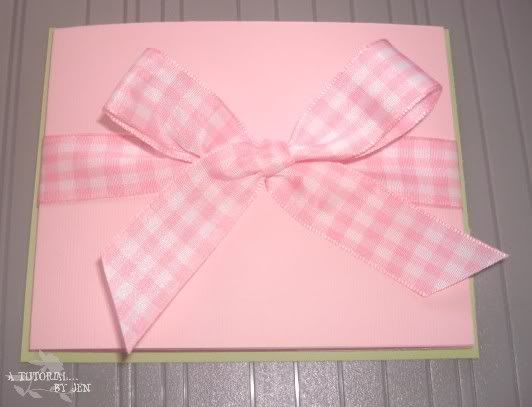
Step 8: Bring the ribbon around, and tie the ribbon in a bow at the front of the album.
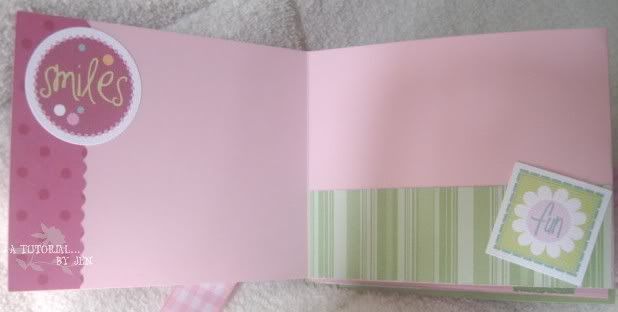
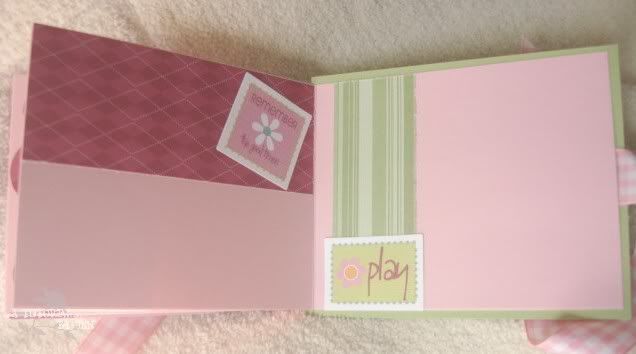
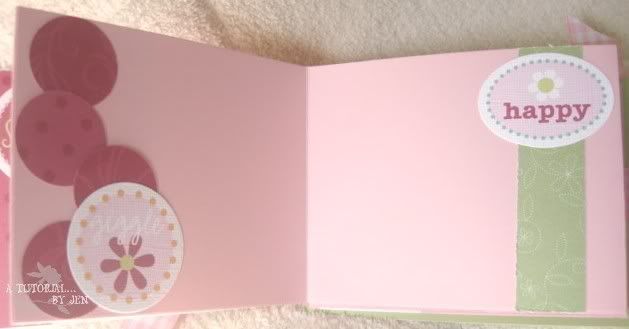
Step 9: Decorate with various embellishments and DS paper, put into your purse when done!

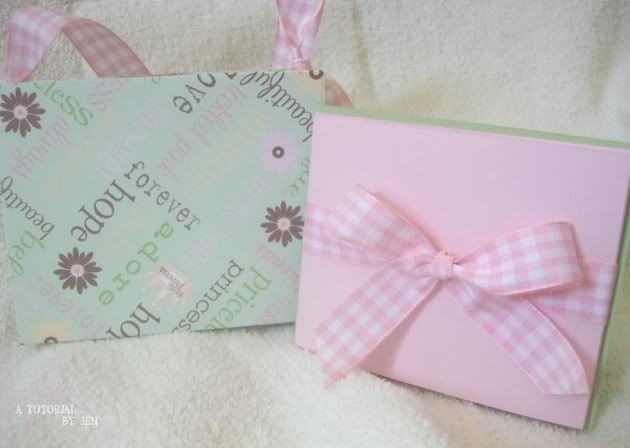
Your project is complete!!
Here's how I decorated my pages:
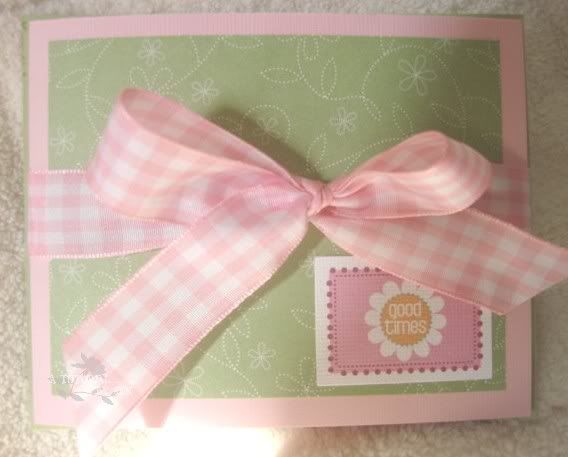
Ribbon: - From Walmart
DS Paper: SU!'s Palette o' Prints
CS: Pretty In Pink; Certainly Celery
Stickers are Bazzill Basic's Chiptoppers;
No comments:
Post a Comment